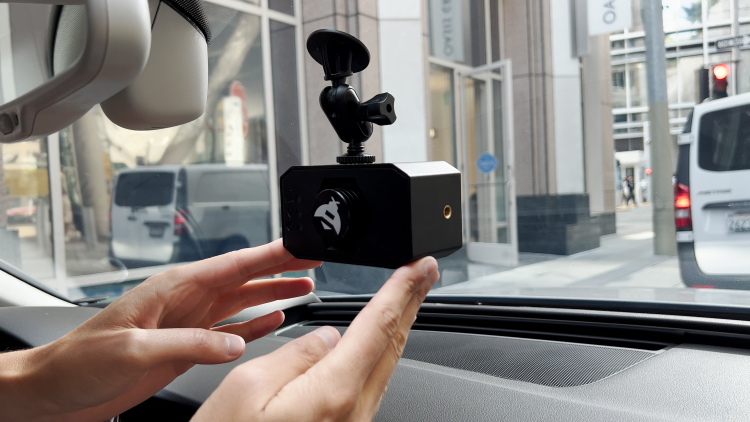
The Latest Buzz
How do I mount my Hivemapper Dashcam? Here’s some inspo from the Hivemapper Community.
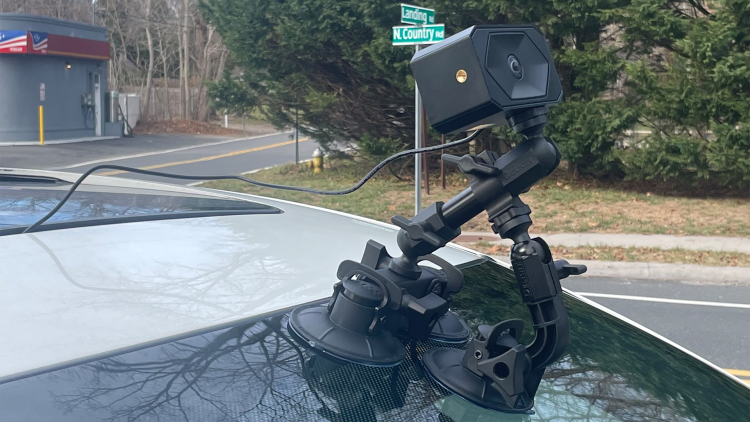
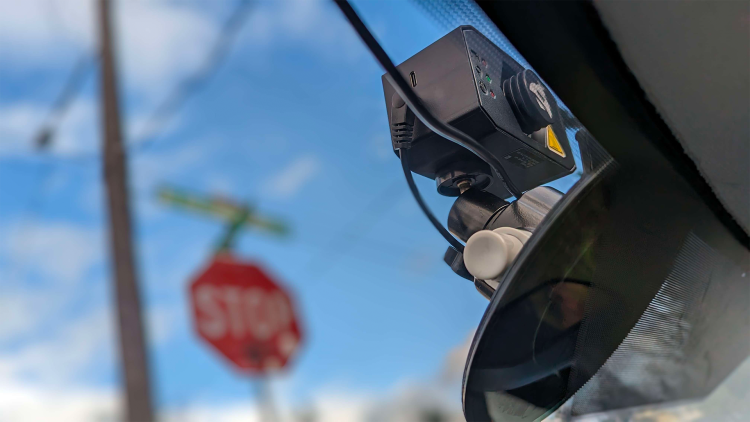
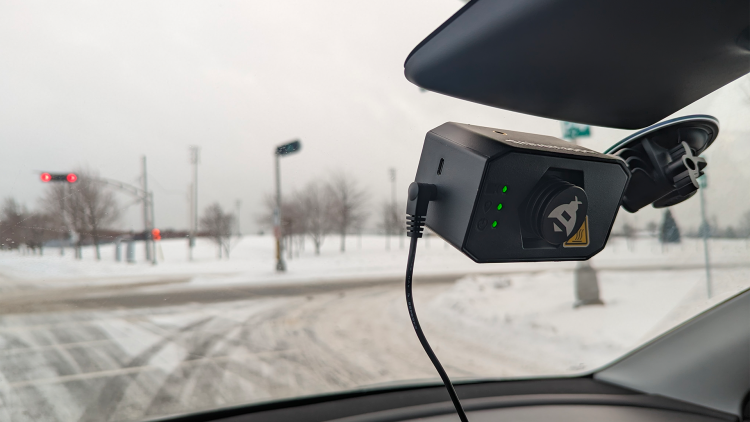
As more and more Hivemapper Dashcams land in people’s hands, our Discord and Twitter accounts are lighting up with creative mounting ideas. Below we’ve selected a few examples of how contributors are installing their dashcams.
What are the most creative dashcam mounts you’ve encountered? Head to our Discord or Twitter and share photos and links.
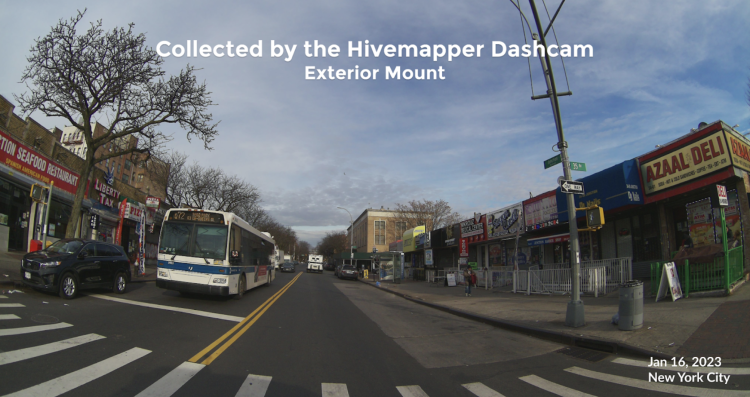
Below is an image collected from an exterior mounted Hivemapper Dashcam in New York City. Looking good.
Mapping in different weather conditions
You may have noticed the roads have some snow on them in some of the images collected by Hivemapper contributors. Some of our competitors only collect their imagery under perfect sunny conditions, but the world changes frequently. Visiting Lake Tahoe in June is different from visiting in January. By collecting across all seasons, contributors provide far fresher and more relevant data.
If it’s snowing or raining heavily and nothing is visible, then you won’t be rewarded. However, if it recently snowed and it’s a clear day then we definitely want to be part of your drive, and map as you drive.
How to mount your Hivemapper Dashcam
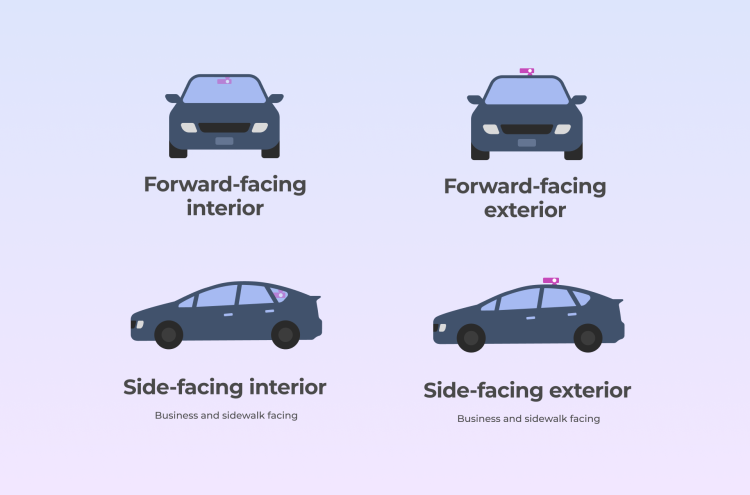
There are four approved mounting positions for your dashcam. You can decide which one is the right one for you.
The dashcam must be mounted on a vehicle with at least four wheels to collect usable imagery. Consider clarity of view when deciding on your mount position.
A maximum of two dashcams can be mounted per vehicle: one forward-facing and one side-facing. If you decide to mount the dashcam side-facing, it must face the sidewalk and buildings (i.e. mounted on the passenger side of the vehicle).
After deciding your mounting position, use the peel and stick mount included in the box to place your dashcam in the desired mounting position. The sticky adhesive can attach the mount to your windshield, window, vehicle's surface.
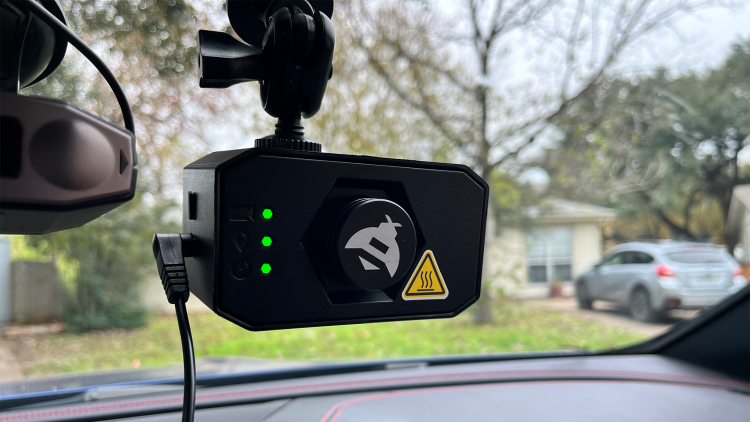
Make sure the Hivemapper bee is facing up
If the Hivemapper bee is pointed down, then your dashcam is upside down and that means the images it produces will be low quality and will not pass QA reviews. The bee should be facing and the lights should be on the left hand side.
For a forward-facing mount, the dashcam should be mounted in the center of the vehicle and angled slightly up from the horizon. The dashcam should be mounted high enough to avoid having the dashboard or hood of the vehicle in the frame.
For a side-facing mount, the dashcam should be mounted on the side of the vehicle closest to the sidewalk and buildings (i.e. the passenger side). Again, the dashcam should be angled slightly up from the horizon and mounted in a way that avoids capturing the exterior or interior of the vehicle in the frame.
Pro Tip: Angle your dashcam up slightly
Notice how the Hivemapper Dashcam above is angled up slightly. This ensures that less of the car hood is visible and more of the road is visible. Ultimately, the camera needs to be able to clearly see and read objects like signs, lane lines, parking restrictions, and so forth. If it cannot cleanly see these objects then it cannot produce quality map data.
Here’s a 2-minute video showing step-by-step how to install your Hivemapper Dashcam.
Share Post

